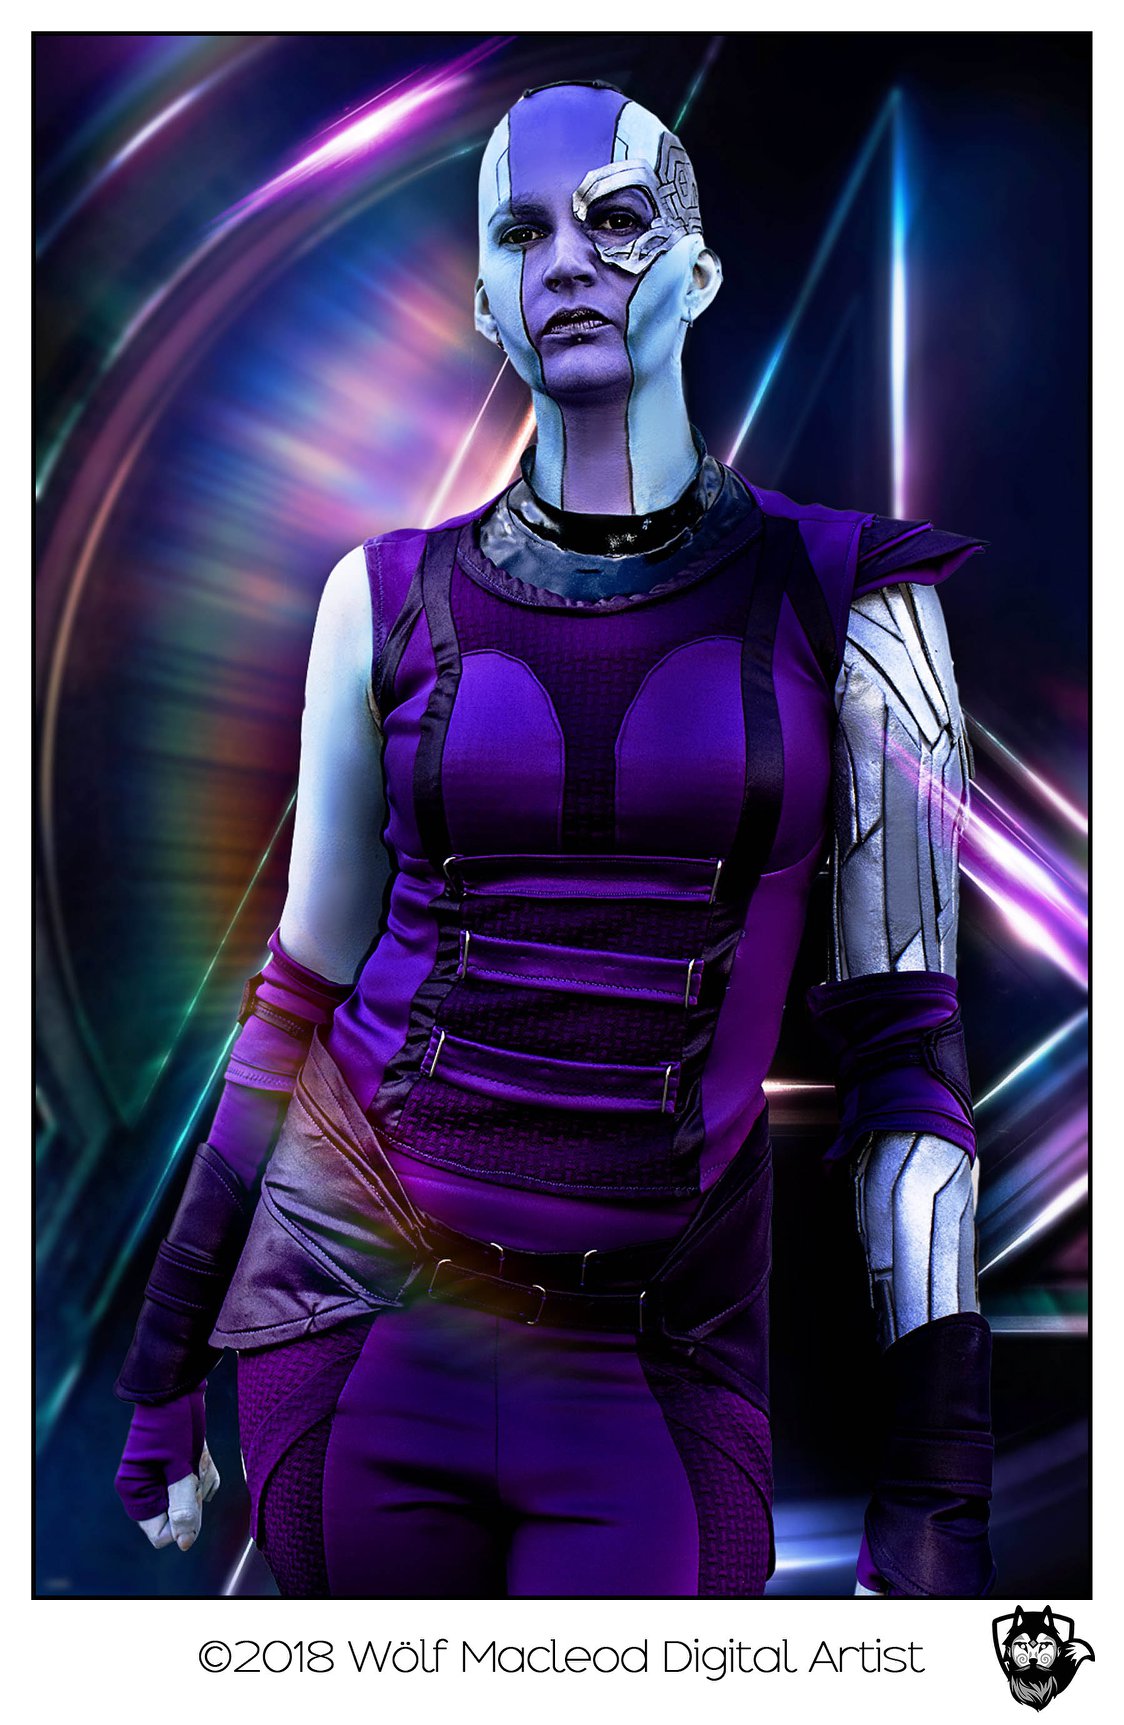
Came across the works of Stefania – Bellydancer & Cosplayer cosplay work of Nebula’s arm and she was happy to share how she made it with you guys. Just make sure you keep Rocket away from her arm.
I seem to have a great love of characters with a metal arm and tragic backstory, and so because of this (and the fact I’m a crazy person that decided I needed a bit more of a challenge) I decided to cosplay Nebula from Marvel’s Guardians of the Galaxy! Here’s how I made her arm.
Cast your arm
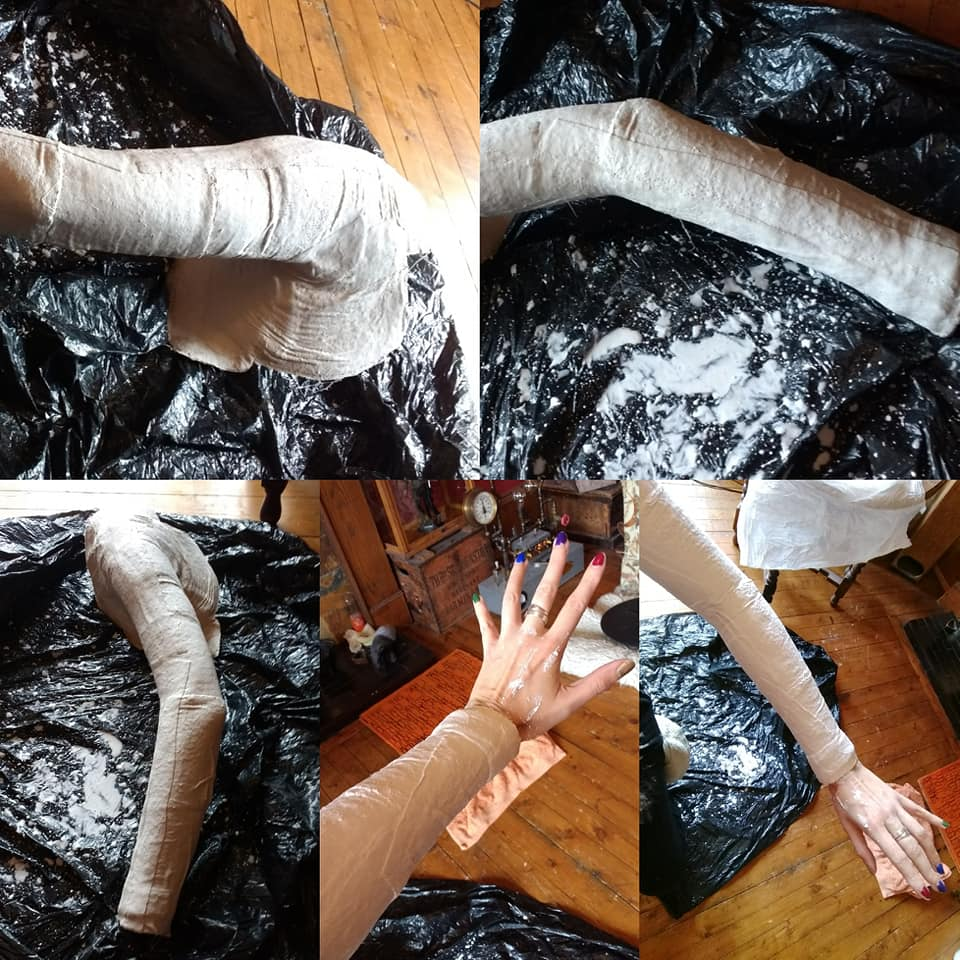
The first step was making a cast of my own left arm using plaster bandages (often called Mod Roc) with the help of a friend! After a bit of mess and a surprisingly short drying time, the cast was carefully cut away and the seam patched up with another strip of plaster bandage.
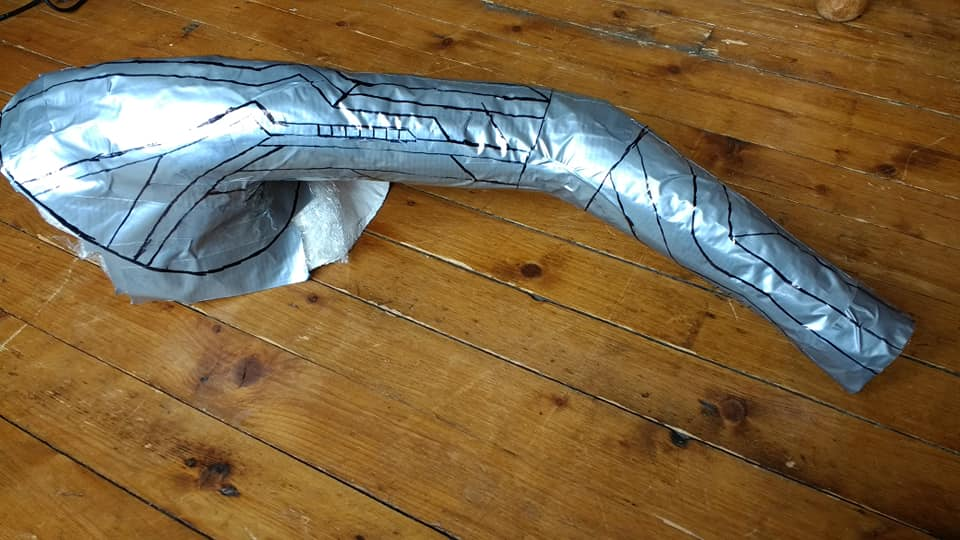
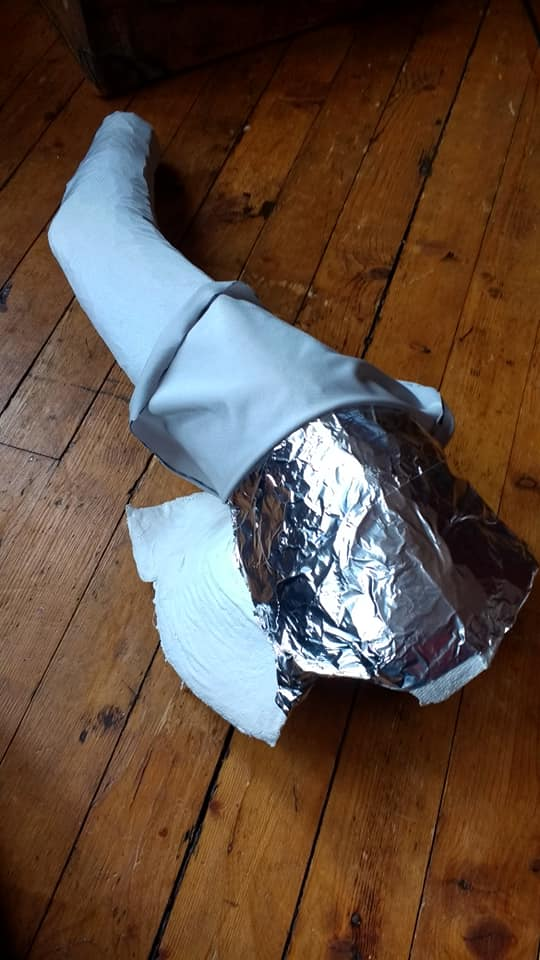
Wrap and wrap it again
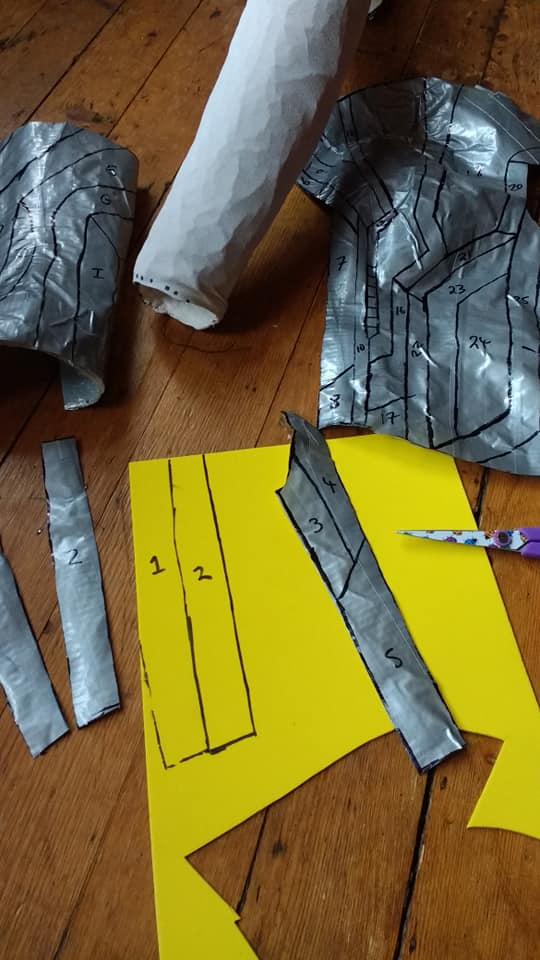
I wrapped the dried cast in aluminium foil tape to provide a smooth and less adhesive surface (this comes in handy later when you start heat-shaping and gluing on the plates), then wrapped it in a layer of clingfilm and covered that with duck tape. This meant I could draw on the sections of the arm based on reference pictures using a marker pen.
I re-covered the arm cast in clingfilm and duck tape again so i could make another pattern for a sleeve which I made out of a silver lycra fabric. I hemmed around the shoulder edge with some folded over herringbone tape to give it strength and stop it stretching out of shape too much, and attached a strip of thick elastic to fit snugly around my chest to stop the sleeve sliding down off my arm when it is worn under my vest.
 Back to drawing on the plates: I simplified the design and had to make up the pattern on the inside of the arm, which wouldn’t matter too much as you don’t really see it anyway.
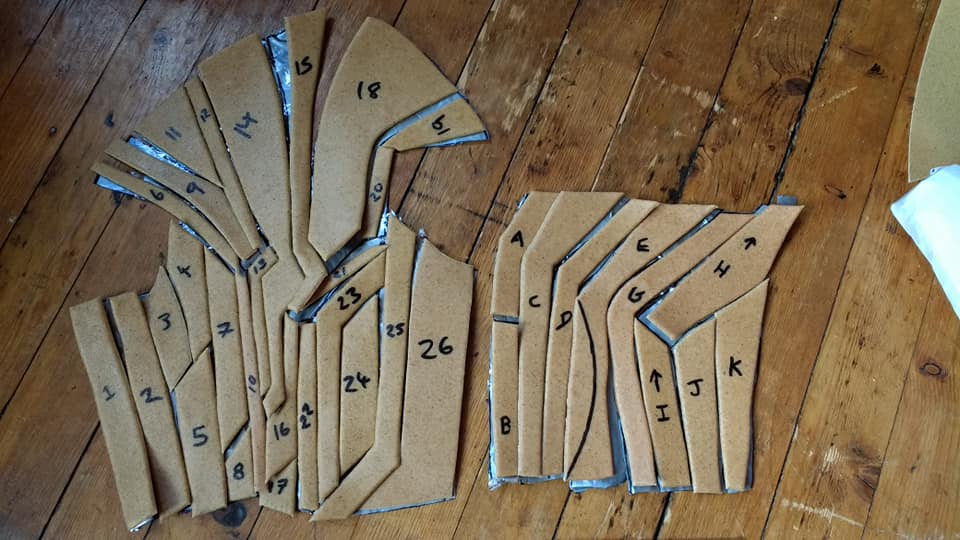
You can easily wipe off any mistakes you make with a little bit of isopropyl alcohol or some nail polish remover. When happy with the design I numbered each ‘plate’, and took some photos so I would know how everything assembled when finished just in case things got mixed up.
I also marked where the lines of the largest middle plate sat on the arm cast at the shoulder and also a few other plate edges – this would help me position the worbla bits in the right place to heat it to the shape of my arm. I cut a line up the inside of the arm to take the duck tape pattern off the cast, then cut out each plate part and used it as a stencil on cheap craft foam.
I recommend trimming your stencils a little bit as when you add the Worbla they will have more bulk and may not fit snugly together as they do in the pattern.
Form Sandwich
 I cut out the craft foam shapes and traced around them twice on Worbla (remembering to flip it over for one side!), leaving about half an inch all round.
I sandwiched the foam in-between the two sheets of Worbla using a heat gun, then cut the excess off with scissors, staying close to the edge of the foam in order to seal it together but avoid cutting through to expose the foam.
I repeated this for each plate, working on all the upper arm sections first and then the forearm.
This part took quite a while and if I did it again I’d recommend just using one side of Worbla and folding it over the edges of the foam, it will be lighter too
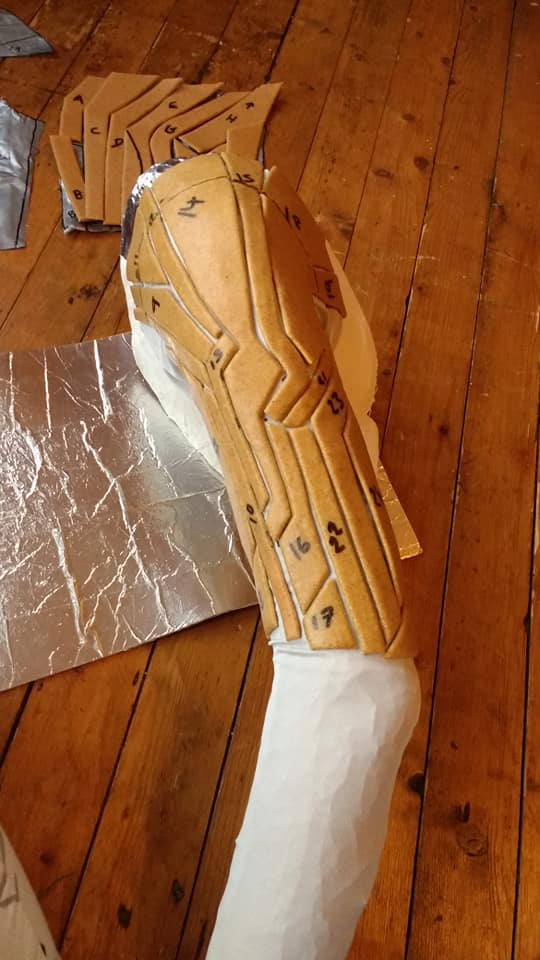
Pull the sleeve you made over your cast, it should fit almost perfectly!
Re-number or alphabetise all the Worbla bits, and take the big central piece that you marked the position of on your cast, heat it and mould it onto the sleeve in the correct position. I suggest working in both directions on the upper arm and test fitting each piece so you are happy they fit together with the others before heating them and pressing them down onto the sleeve to cool (don’t worry they are just temporarily stuck to the fabric). Any air bubbles can be gently reheated, pierced with a needle and smoothed down.
Fit it and Wear it
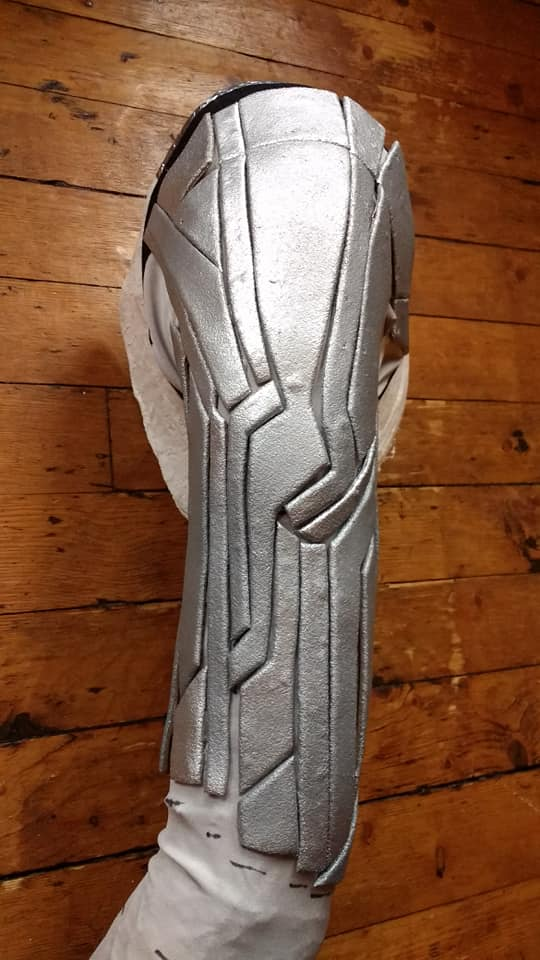
Once I was happy with the fit of all the pieces I took some more photos for reference. I then gently pulled all the worbla bits off the sleeve so I could prime (there are many methods that I won’t go into here but check out the Worbla site for ideas!), spray paint them a chrome silver colour and then finish them with a spray gloss varnish. My original plan was to use mostly Gorilla glue with a few dots of hot glue to help the piece stay in place while the Gorilla glued dried, this did not work as my sleeve fabric was too thin but you might have more joy with a thicker more fleecey fabric using this method. In the end I just used hot glue on it’s own as it seemed to give a secure hold. I did have to alter a few of the plates after trying the arm on, as they were too long and would stick up away from my arm if it was held in a certain position. Basically the shorter your pieces are, the more mobility you will have!
 The elbow and wrist pads were made from craft foam covered with a wet-look stretch Lycra in a dark purple and the gloves from a lighter purple Lycra scuba fabric the same type as my top and trousers. I also made a silver glove from the same fabric as my sleeve.
All that’s left to do is pull on your arm and accessories and MARVEL at your handiwork!