

Having worked with Worbla to create armour, I was intrigued to try out another medium that many cosplayers rave about, especially when it comes to working on a budget! So when the big, bulky armour Wrath Sonya skin from Blizzard’s latest game Heroes of the Storm was released, I knew I had to make it and that using EVA foam was definitely the way forward.
It has been a huge learning curve working with EVA foam. In some ways it is easier to work with than Worbla, but harder to hide the mistakes I felt! I’m by no means an expert, so this is from a beginner’s point of view and hopefully I can highlight some of the mistakes that I made so that you can avoid them! I’ll mainly be covering things that I learnt and tips that I discovered, so I won’t go into a lot of detail as you can find many already pre existing in depth tutorials and written guides.
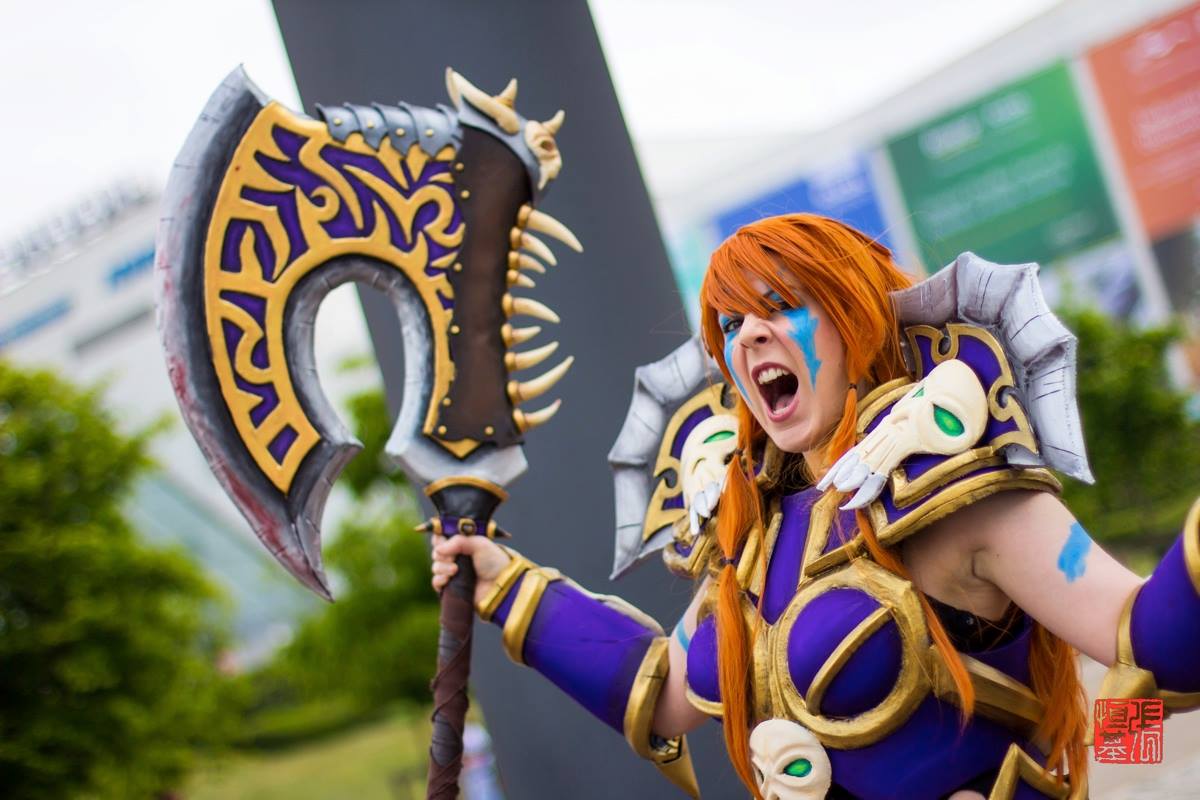
Photo by Eddie of Food and Cosplay
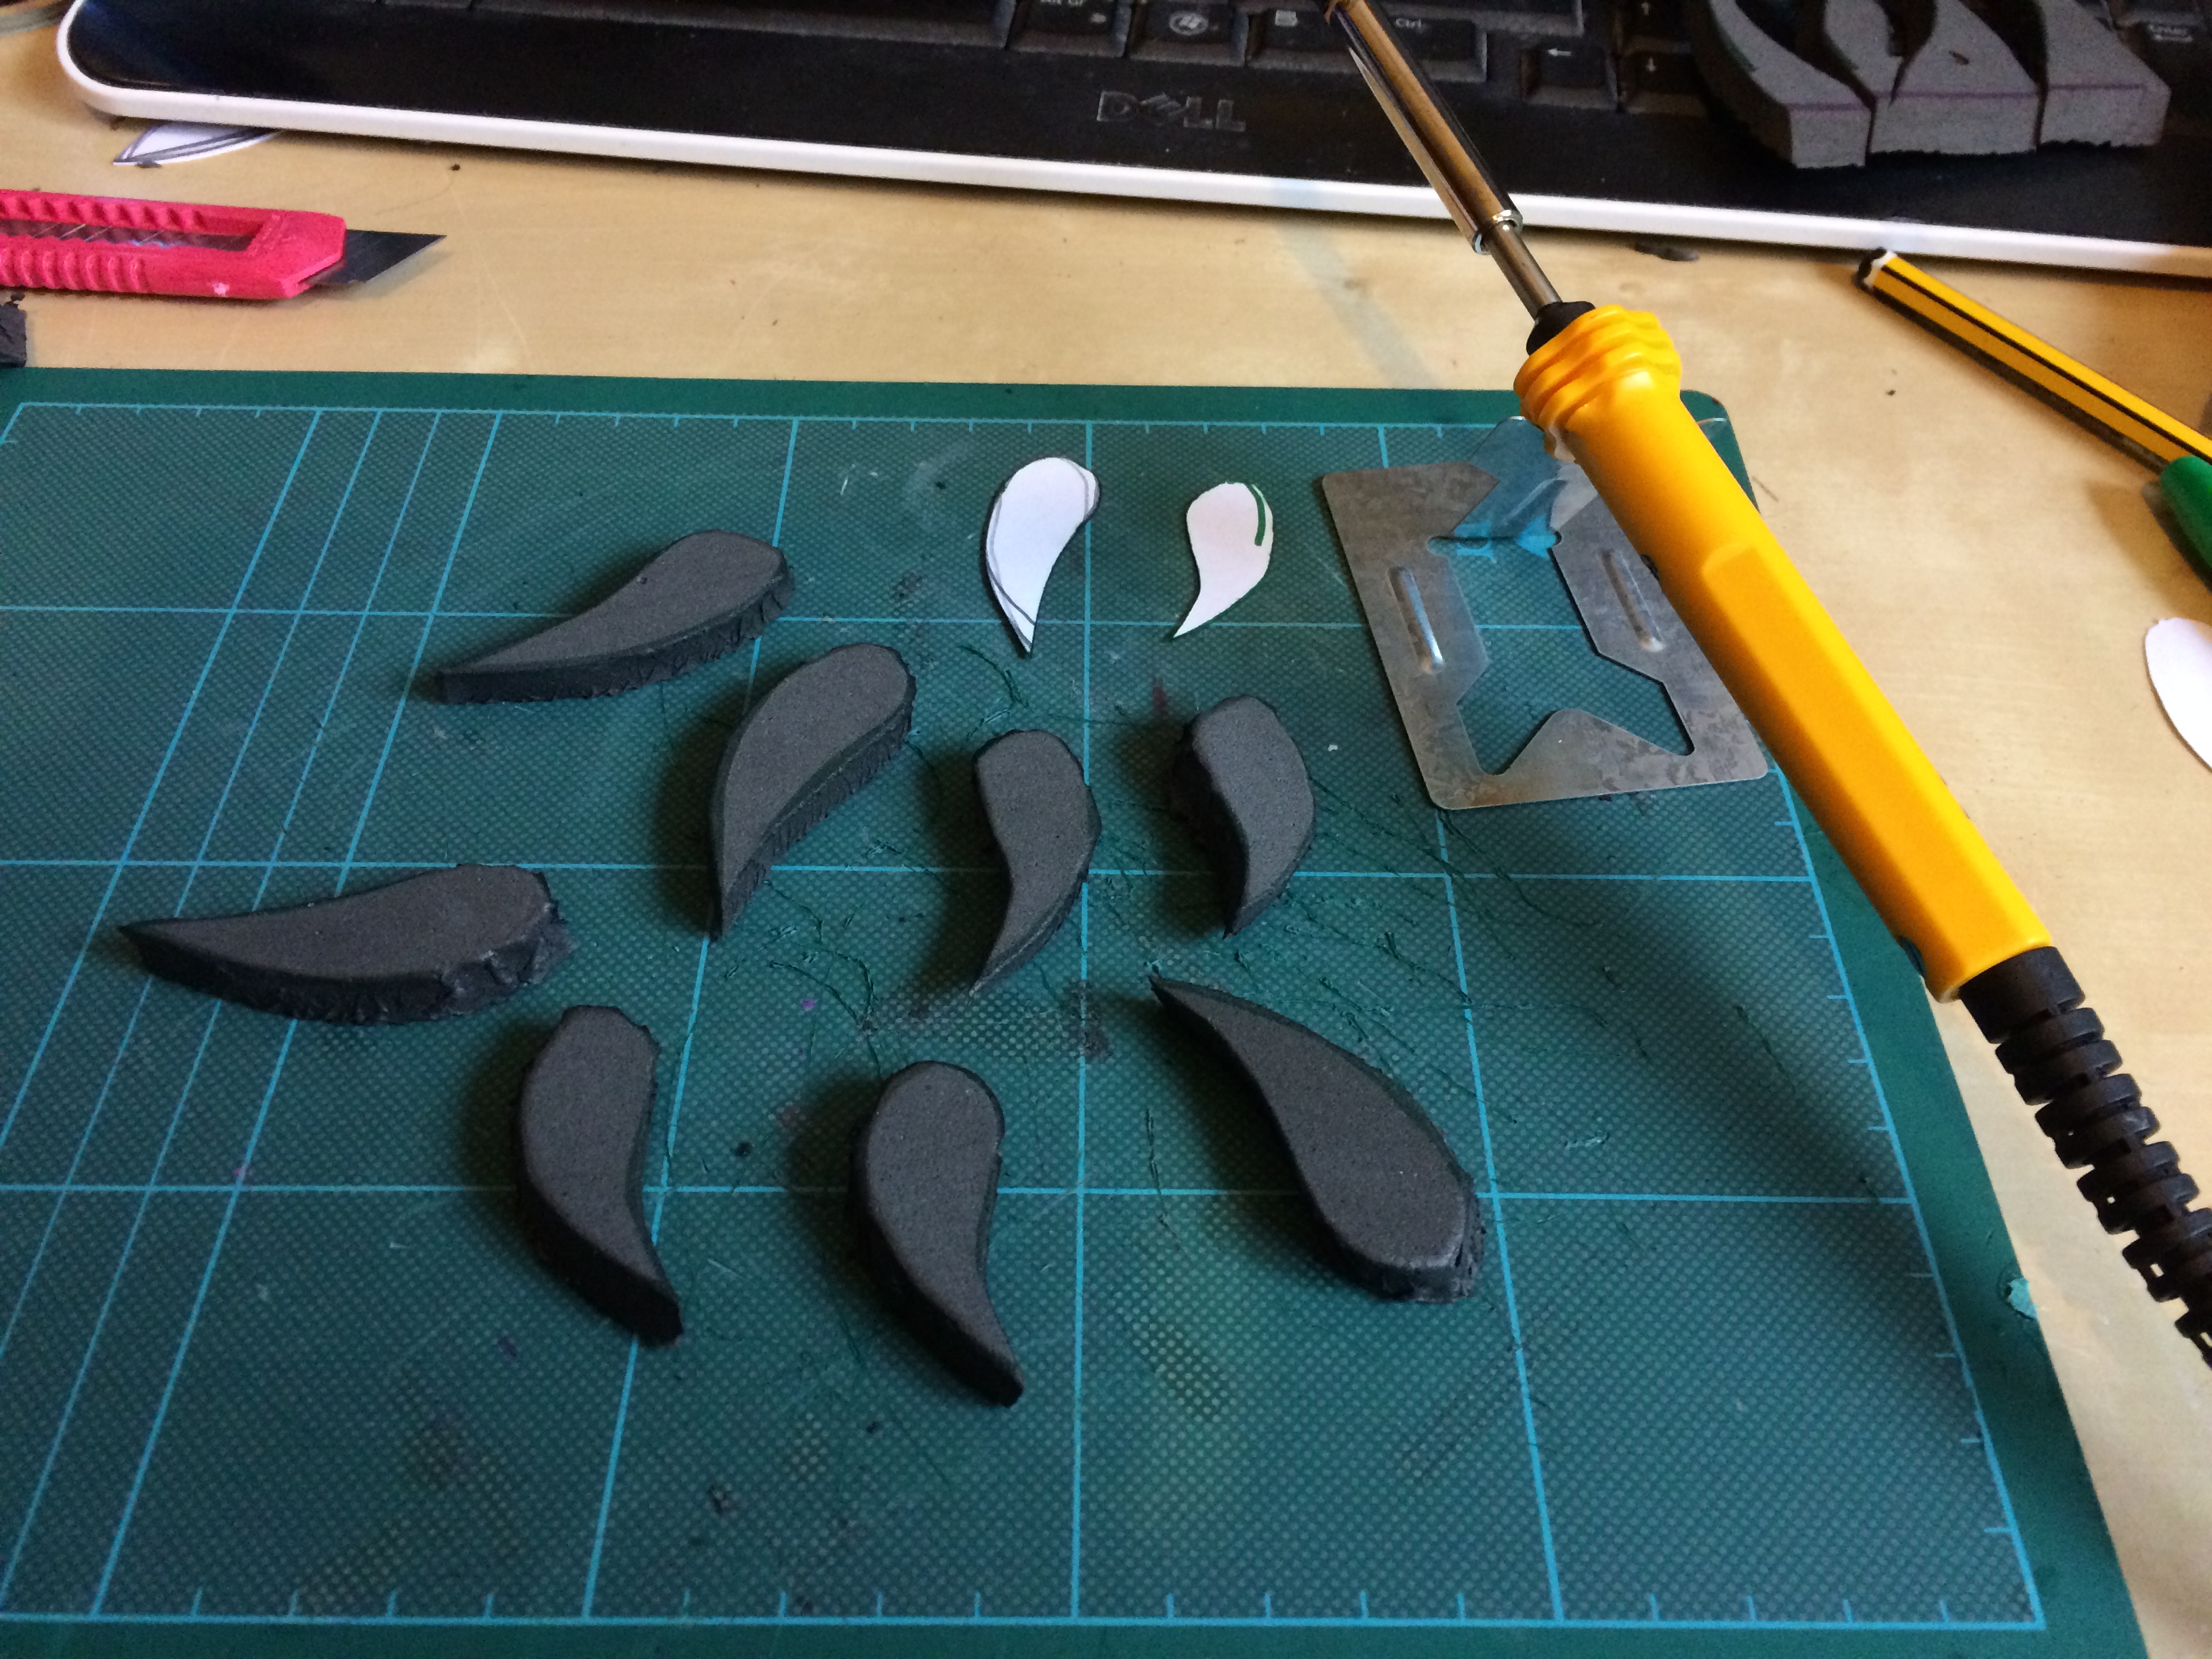
Before going near a big project though I’d definitely recommend purchasing Bill Doran’s ‘Foamsmith’ trilogy, reading it through and playing with small pieces of foam first (unlike me who went ‘weeee let’s make a breastplate!’). You’ll definitely want to practise cutting straight edges (surprisingly difficult!) as well as different angles.
Sourcing everything you need is easy enough, here’s a basic list of what you will need.
Basic Shopping List:
EVA foam in different thicknesses:
Retractable craft knives and spare blades (LOTS):
- Swann Morton scalpel
- 9mm/25mm Stanley Knife
Adhesives:
- Contact glue. Apply to both surfaces, scrape of excess, leave to touch dry then stick together. Use respirator and work outside/in a well ventilated area unless you want to have a giggly conversation with a pink unicorn.
- Super glue (aka STUPID GLUE. Seriously, it’s stupid, I hate it. But also good for touch ups or tiny open seams. I’d recommend Loctite as Gorilla glue refused to stick for me).
- UHU
Cutting Mat:
Primers:
- PVA glue (1 litre) and eeeensy bit of water (aka Modge Podge but saving you a butt tonne of pennies)
- Plasti Dip not essential as very expensive but gives a very nice surface. Also, always order directly from them because then you become their shiny friend and they send you Haribo <3.
Permanent markers:
- Sharpies! Did you know the best colour Sharpie to show up on black is black? Red and dark blue are also good!
Metal ruler
Heat gun (well ventilated area)
Respirator mask
Acrylic paints
Optional extras:
- Dremel (and eye and respiratory protection if you use this)
- Hot knife
- Acrylic spheres (to make boobies)
- Dressform
- Fine grit sandpaper
- Airbrush
- Belt Sander (sanding off the patterned side of EVA foam to make a flat surface)
- magnets (attachments)
- velcro (attachments)
You’ll notice I didn’t say scissors… GOOD. I wouldn’t recommend them for cutting foam, even your Funky/Craft foam. You’ll get cleaner edges if you use your knives (Not your kitchen knife – PUT THE COOKIE DOWN!), plus it’ll make your scissor blade dull fast.
Now, I’m going to give a mini lecture about having a sharp knife. YOU NEED A SHARP CRAFT KNIFE FOR FOAM. Seriously, you do. If you want to have clean edges and cut through with ease make sure you are regularly changing your blade. Don’t buy one of those overpriced hobby knives at craft shops that you can only use a few times and then you have to throw it away. Invest in a couple of good retractable hobby knives where you can change the blade, because you will have to when working with foam, as foam dulls the blade very quickly. How do you know when you need to change the blade? If it doesn’t cut through the foam on the first go and/or you have rough jagged edges.
Lecture over, let’s move on to making! Do you know what you want to make? Good! No? Go find something badass to make. If you’re making armour or props, start making your patterns. If you’re stumped at this part head on over to Kamui’s shop where you can purchase some templates for men and women, or investigate Pepakura files, nose at The RPF or have a look at Bill Doran’s Foamsmith guides.
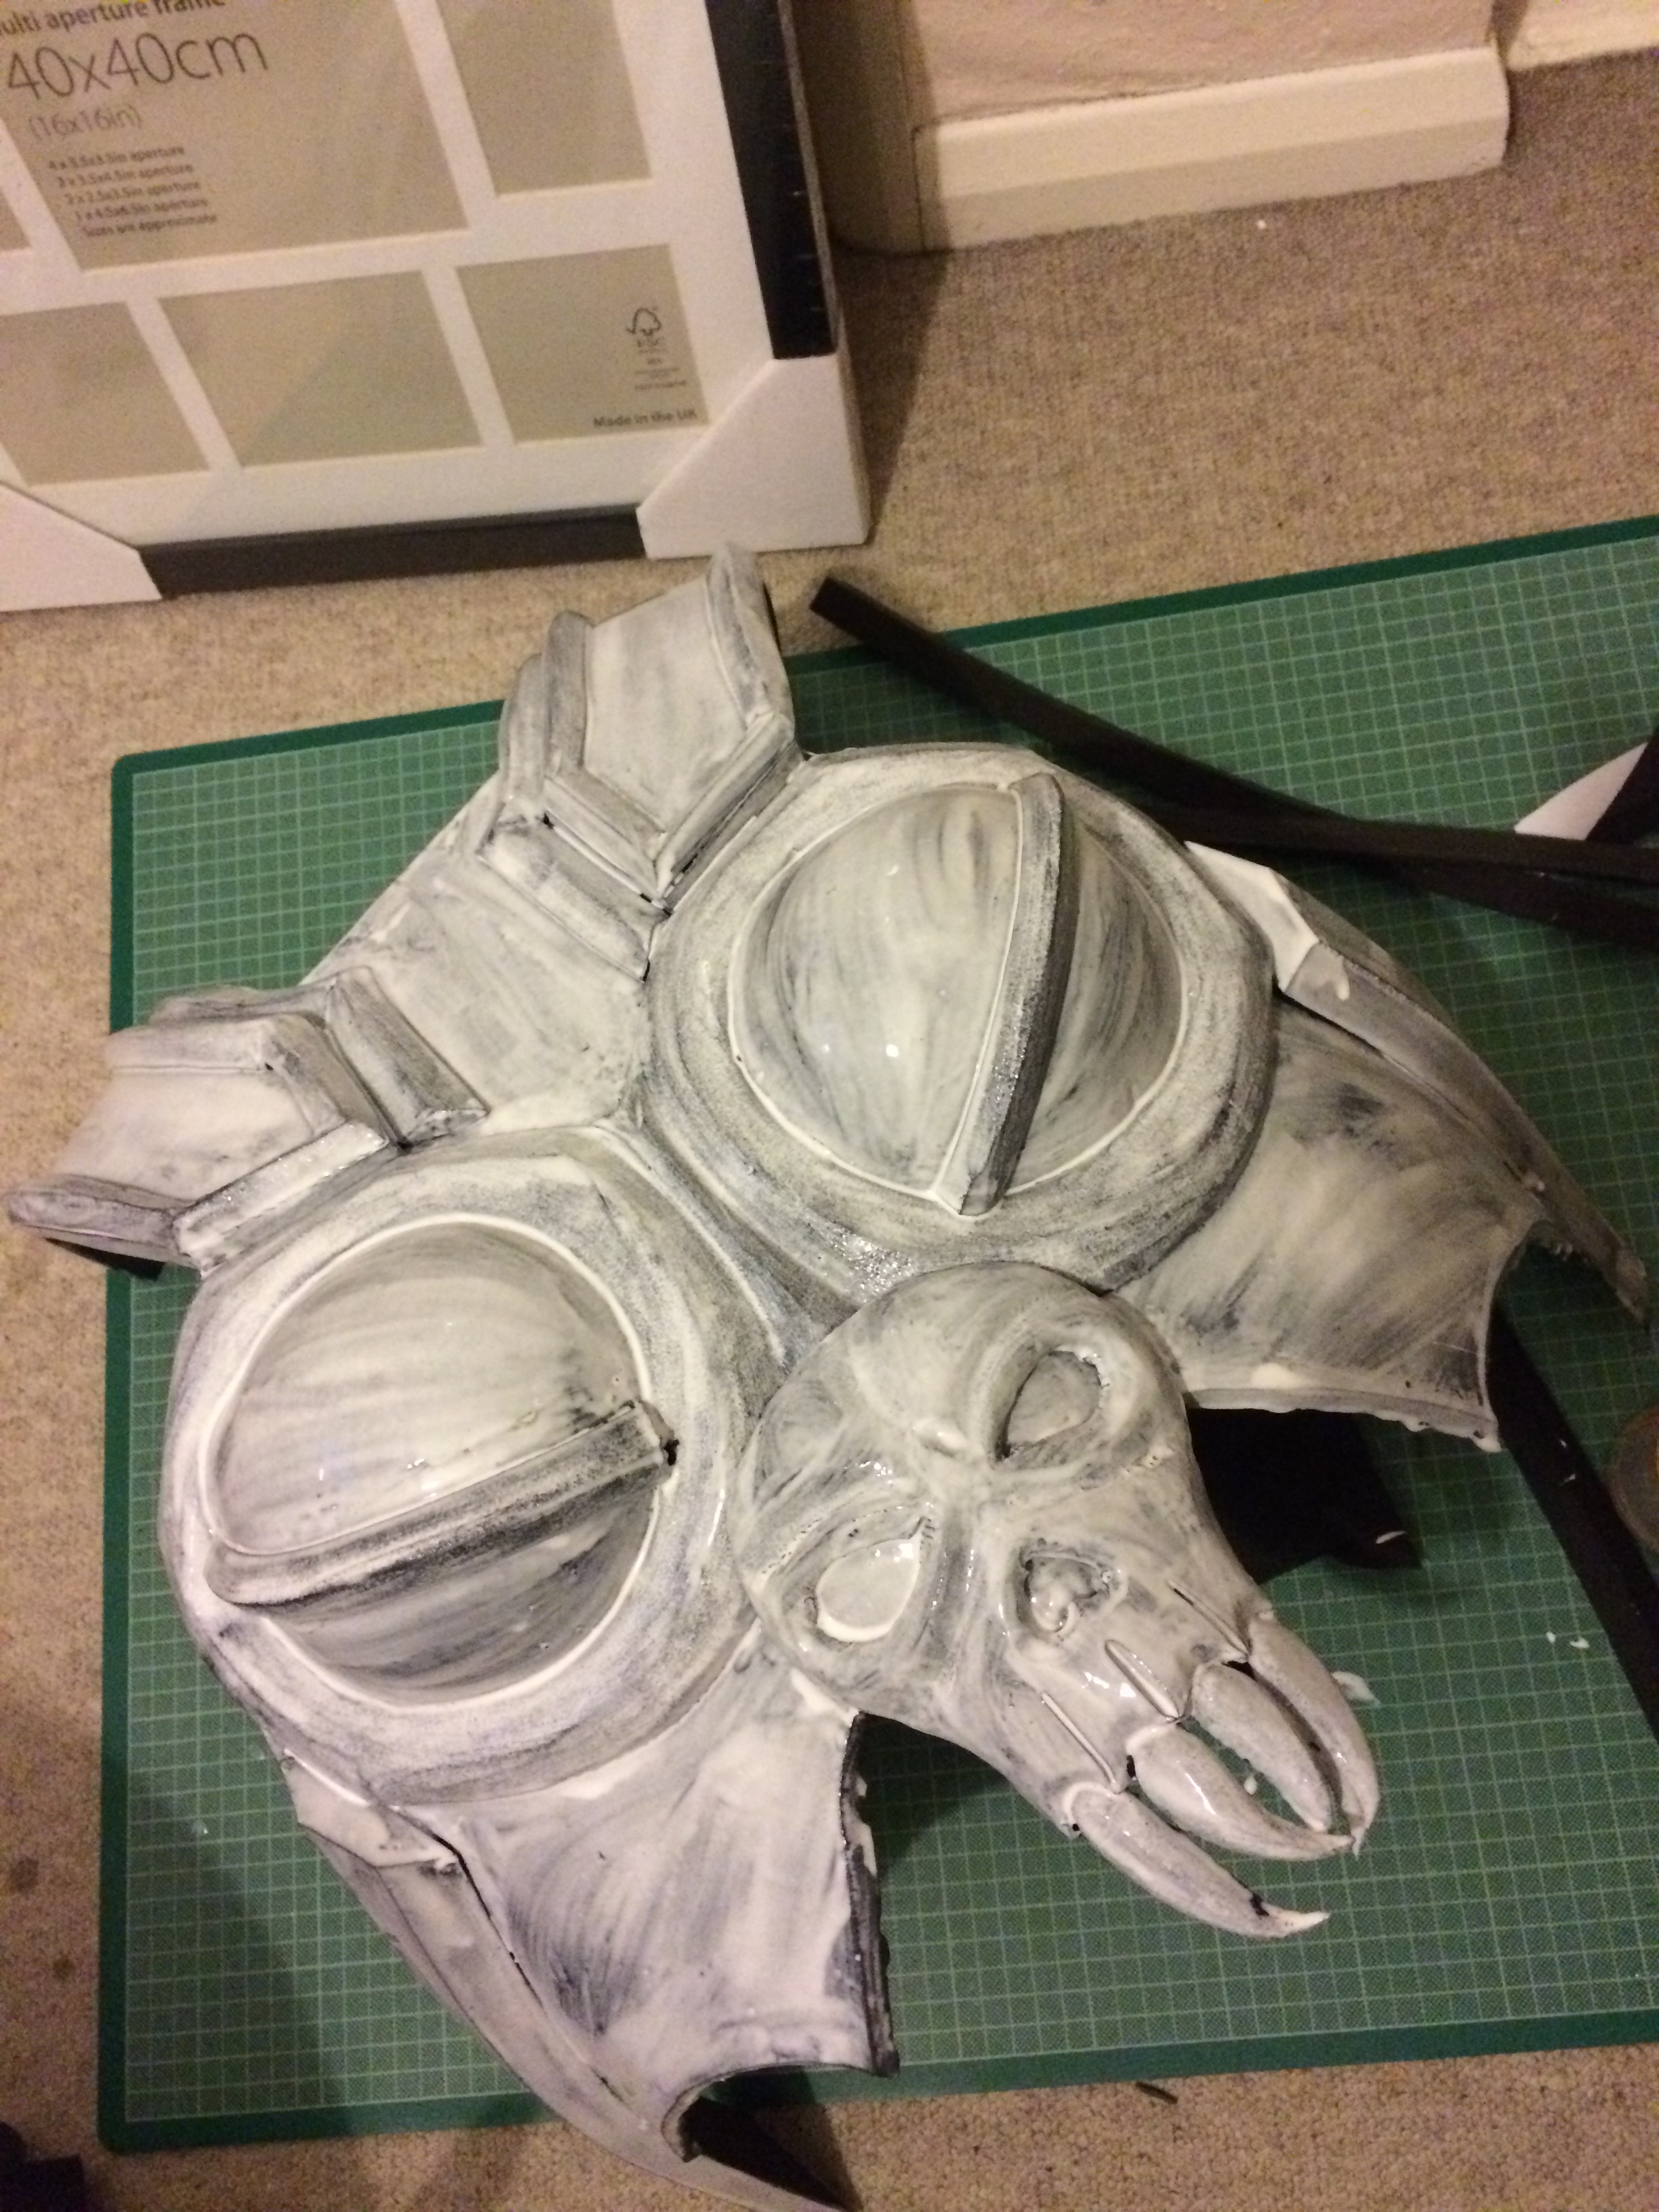
Making armour pieces with foam to me was very similar in making pieces for Worbla, although my biggest bugbear that I discovered was seams, especially when adding bevelled edging on top. I could hide some of this in the priming stage but I definitely need to find a better solution! I’ve been told by Hollita Cosplay that using PolyFilla can work! Which she used to create her Honey Lemon cosplay. You can watch this construction video of how she used it on her seams.
I’d recommend testing out all your pattern pieces on a dressform (if you’re making armour) to check they fit together as well as checking it whilst looking in the mirror too! Also always plan where your attachments are going to go before you start crafting.
Part 2 will be released next week, stay tuned!


