

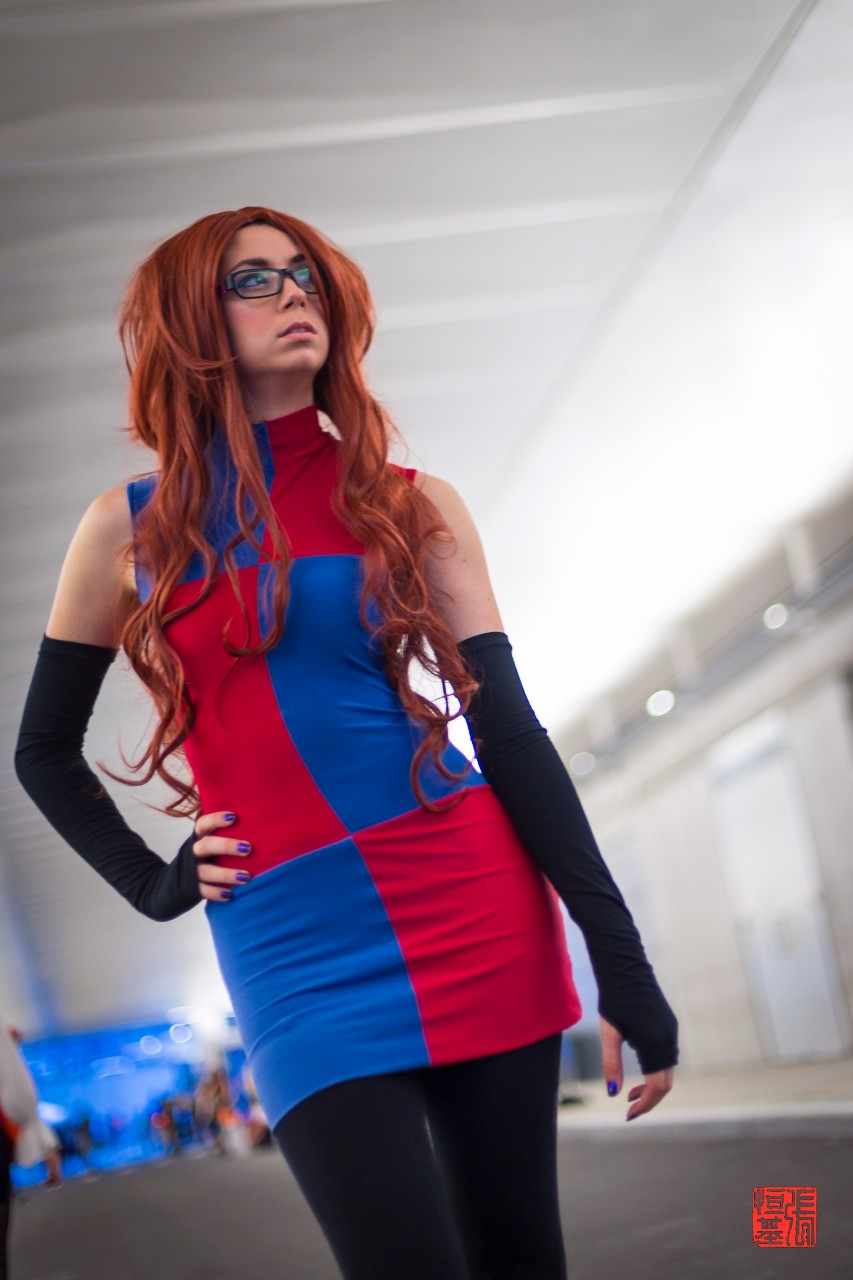
This week’s Re-Edit is cosplayed by Uncanny Megan, cosplaying as Android 21 from the Dragon Ball franchise.
Android 21 is described as a tall, curvaceous scientist with glasses and long bushy auburn hair. She has a gold ring on her left middle finger, and black nails. She wears a pair of hoop earrings, a sleeveless, blue and red short dress with opaque black tights, black arm sleeves, and blue and red heel boots.
The good Android 21 represents her original self’s good side, similar to how Good Buu represents the good aspects of the Innocent Buu. Though she retains her hunger she is better able at controlling it due to the removal of her evil half and her link with the human soul that had been bonded with Android 18.
2021 EDIT PROCESS
I started with the basic changes I always do, by adjusting the exposure, contrast, highlights, shadows, HSL, and etc. Throughout this project of re-editing my older photos, I do not refer to the original edited photo so I can see if I would make the same steps or make alternative decisions.

I moved the photo into Photoshop wherein the bottom left corner I wanted to remove the distraction of colours and stray arm. Using the Patch Tool, I removed the stray arm and then using the selection to create an area around the strong colours, made it into a layer and then desaturate the area so the colour wasn’t as strong or distracting.
This was a small thing I wanted to do, but I wanted to remove the bumps on her glove so it looked more skin-tight to the cosplayer. So I want to liquify the tool to push in the bumps.
From the original photo, the photo looked slightly unfocus, so pass the photo through steps to sharpen the photo such as adding a layer of “High Pass” to give a more sharp definition.
Next step I added coloured gradient shades around the cosplayer which matched the main colours of her dress with red in one corner and blue in the opposite, just to inject a bit more character to the photo.
My last step was to apply the skin smoothening and contouring techniques I do in Photoshop.
COMPARING THE TWO PHOTOS
Looking at the two photos, I really like the updated version with its complimenting colours and a sharper look. The inclusion of colour shades in the corner help improves the look of the photo.
It’s interesting to see that in the original RAW, I had to rotate the image to make it look more upright and that in both the 2017 and 2021 edits, I followed the same principle.
Don’t forget to use the slider below to compare the two photos but also you view them individually above.
[s201_bai id=”34″]


