

Hello, its Rachel again!
This month I will be giving you some insight into basic cosplay sewing that will either introduce you or give you a little boost when creating your next cosplay.
Before we even get near a sewing machine we need to know what we are doing. This is what I discussed in my last post you can read here
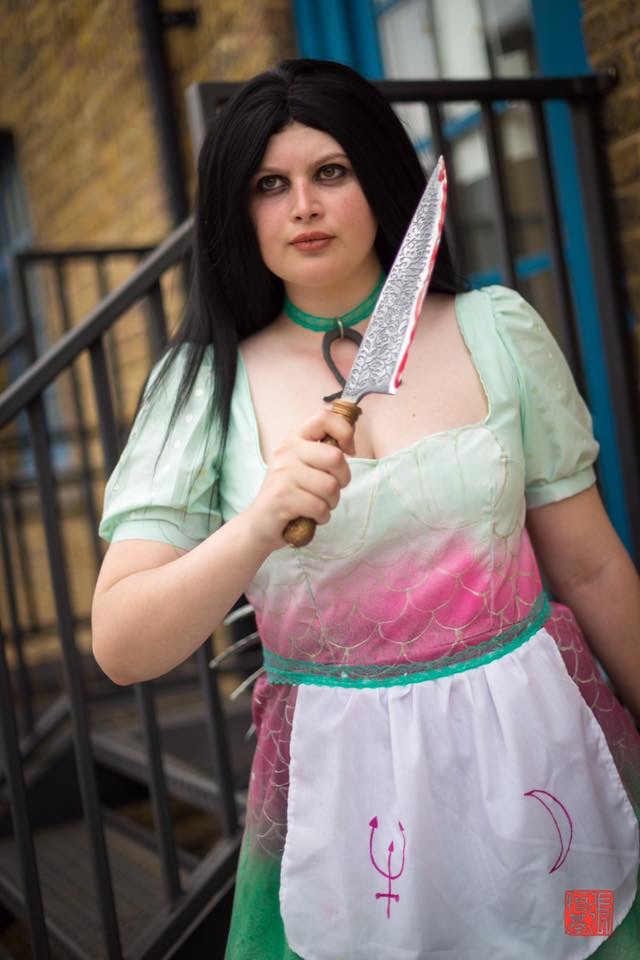
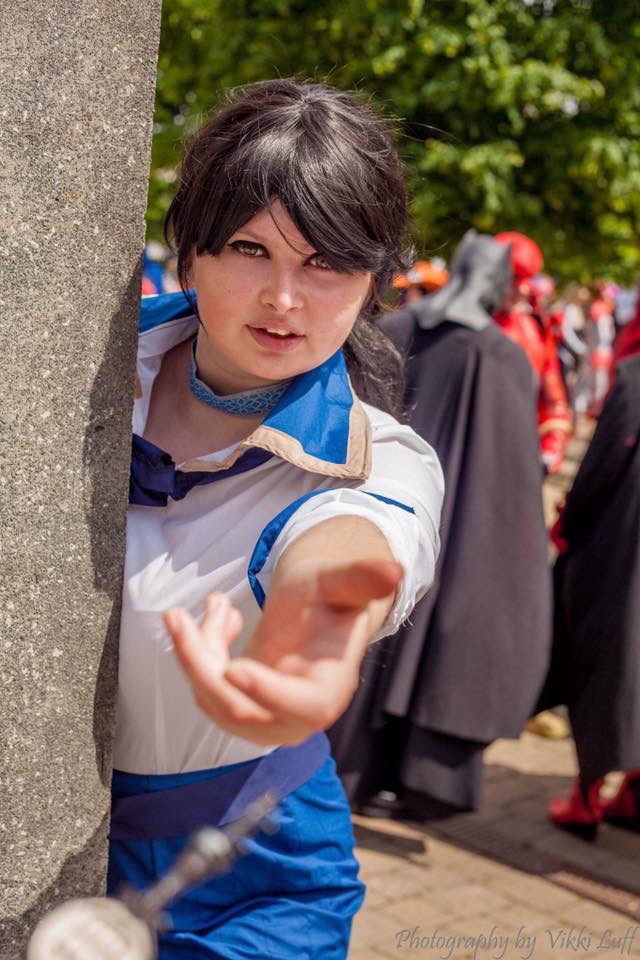
I know my own personal preferences are either lycra or cotton depending on what my project is. Cotton blends I find are easy to sew and great for more “pedestrian” outfits. Examples are my Alice Madness Returns siren dress, Little Sister from Bioshock and Elizabeth from Bioshock Infinite to name a few.
Machine:
Fabric choices can be affected by your sewing machines limitations so that’s always one thing to remember. If you are a beginner and don’t want to spend loads of money on a machine straight away, stores like Hobbycraft or local independent sewing shops should have something in your price range that should get you going. I personally dived in at the £100 mark for my first machine as I had already been sewing for years with my mums and didn’t need a “fancy” one. My machine is a Singer Promise which is perfect for everyday clothing and all my cosplays so far but it can not handle Denim or leathers. I also know from friends that even £20 small portable machines can be great if you aren’t making a whole costume but need to make some of your garment yourself.
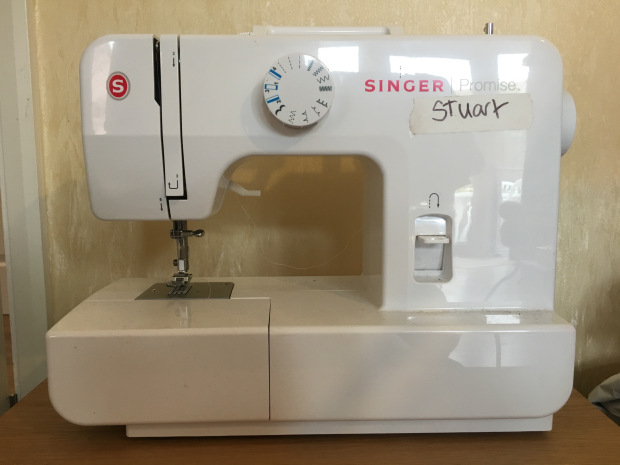
My Singer machine, Stuart, has been very reliable and I found when I was making cosplays on him I tended to only do two different types of stitches, Zig Zag or Straight. The fabric choice will determine what stitch you need. I’m now going to use an example of my own cosplay to break down the stages and stitches I used. For this, I will be looking at my Female Sinestro suit from MCM London October 2015, I still have it in my wardrobe.

Stitches:
The suit was made using the Yaya Han pattern as a base which is stitched together with a Zig Zag stitch. I used Zig Zag for anything stretchy, it’s a strong stitch that also allows movement. If you were to straight stitch a Lycra garment it can restrict and not stretch. This can cause stitches to snap and the garment can fall apart. For those who are sewing a lot of stretchy garments and can share the money, an overlocker could be a really great option. I purchased mine 2 years ago for around £300 and it has earnt its keep. Overlockers also known as Sergers, have four threads and two needles. This reinforces seams and makes them so strong that even when they stretch they won’t move.
With the cotton-based costumes, straight stitches are the best option for neatness and strength I find. My sewing machine has three different lengths of straight stitch to use and I think you have to try out all your options first. Just use a small scrap or sample piece and make sure the stitches are flaying flat.
Details:
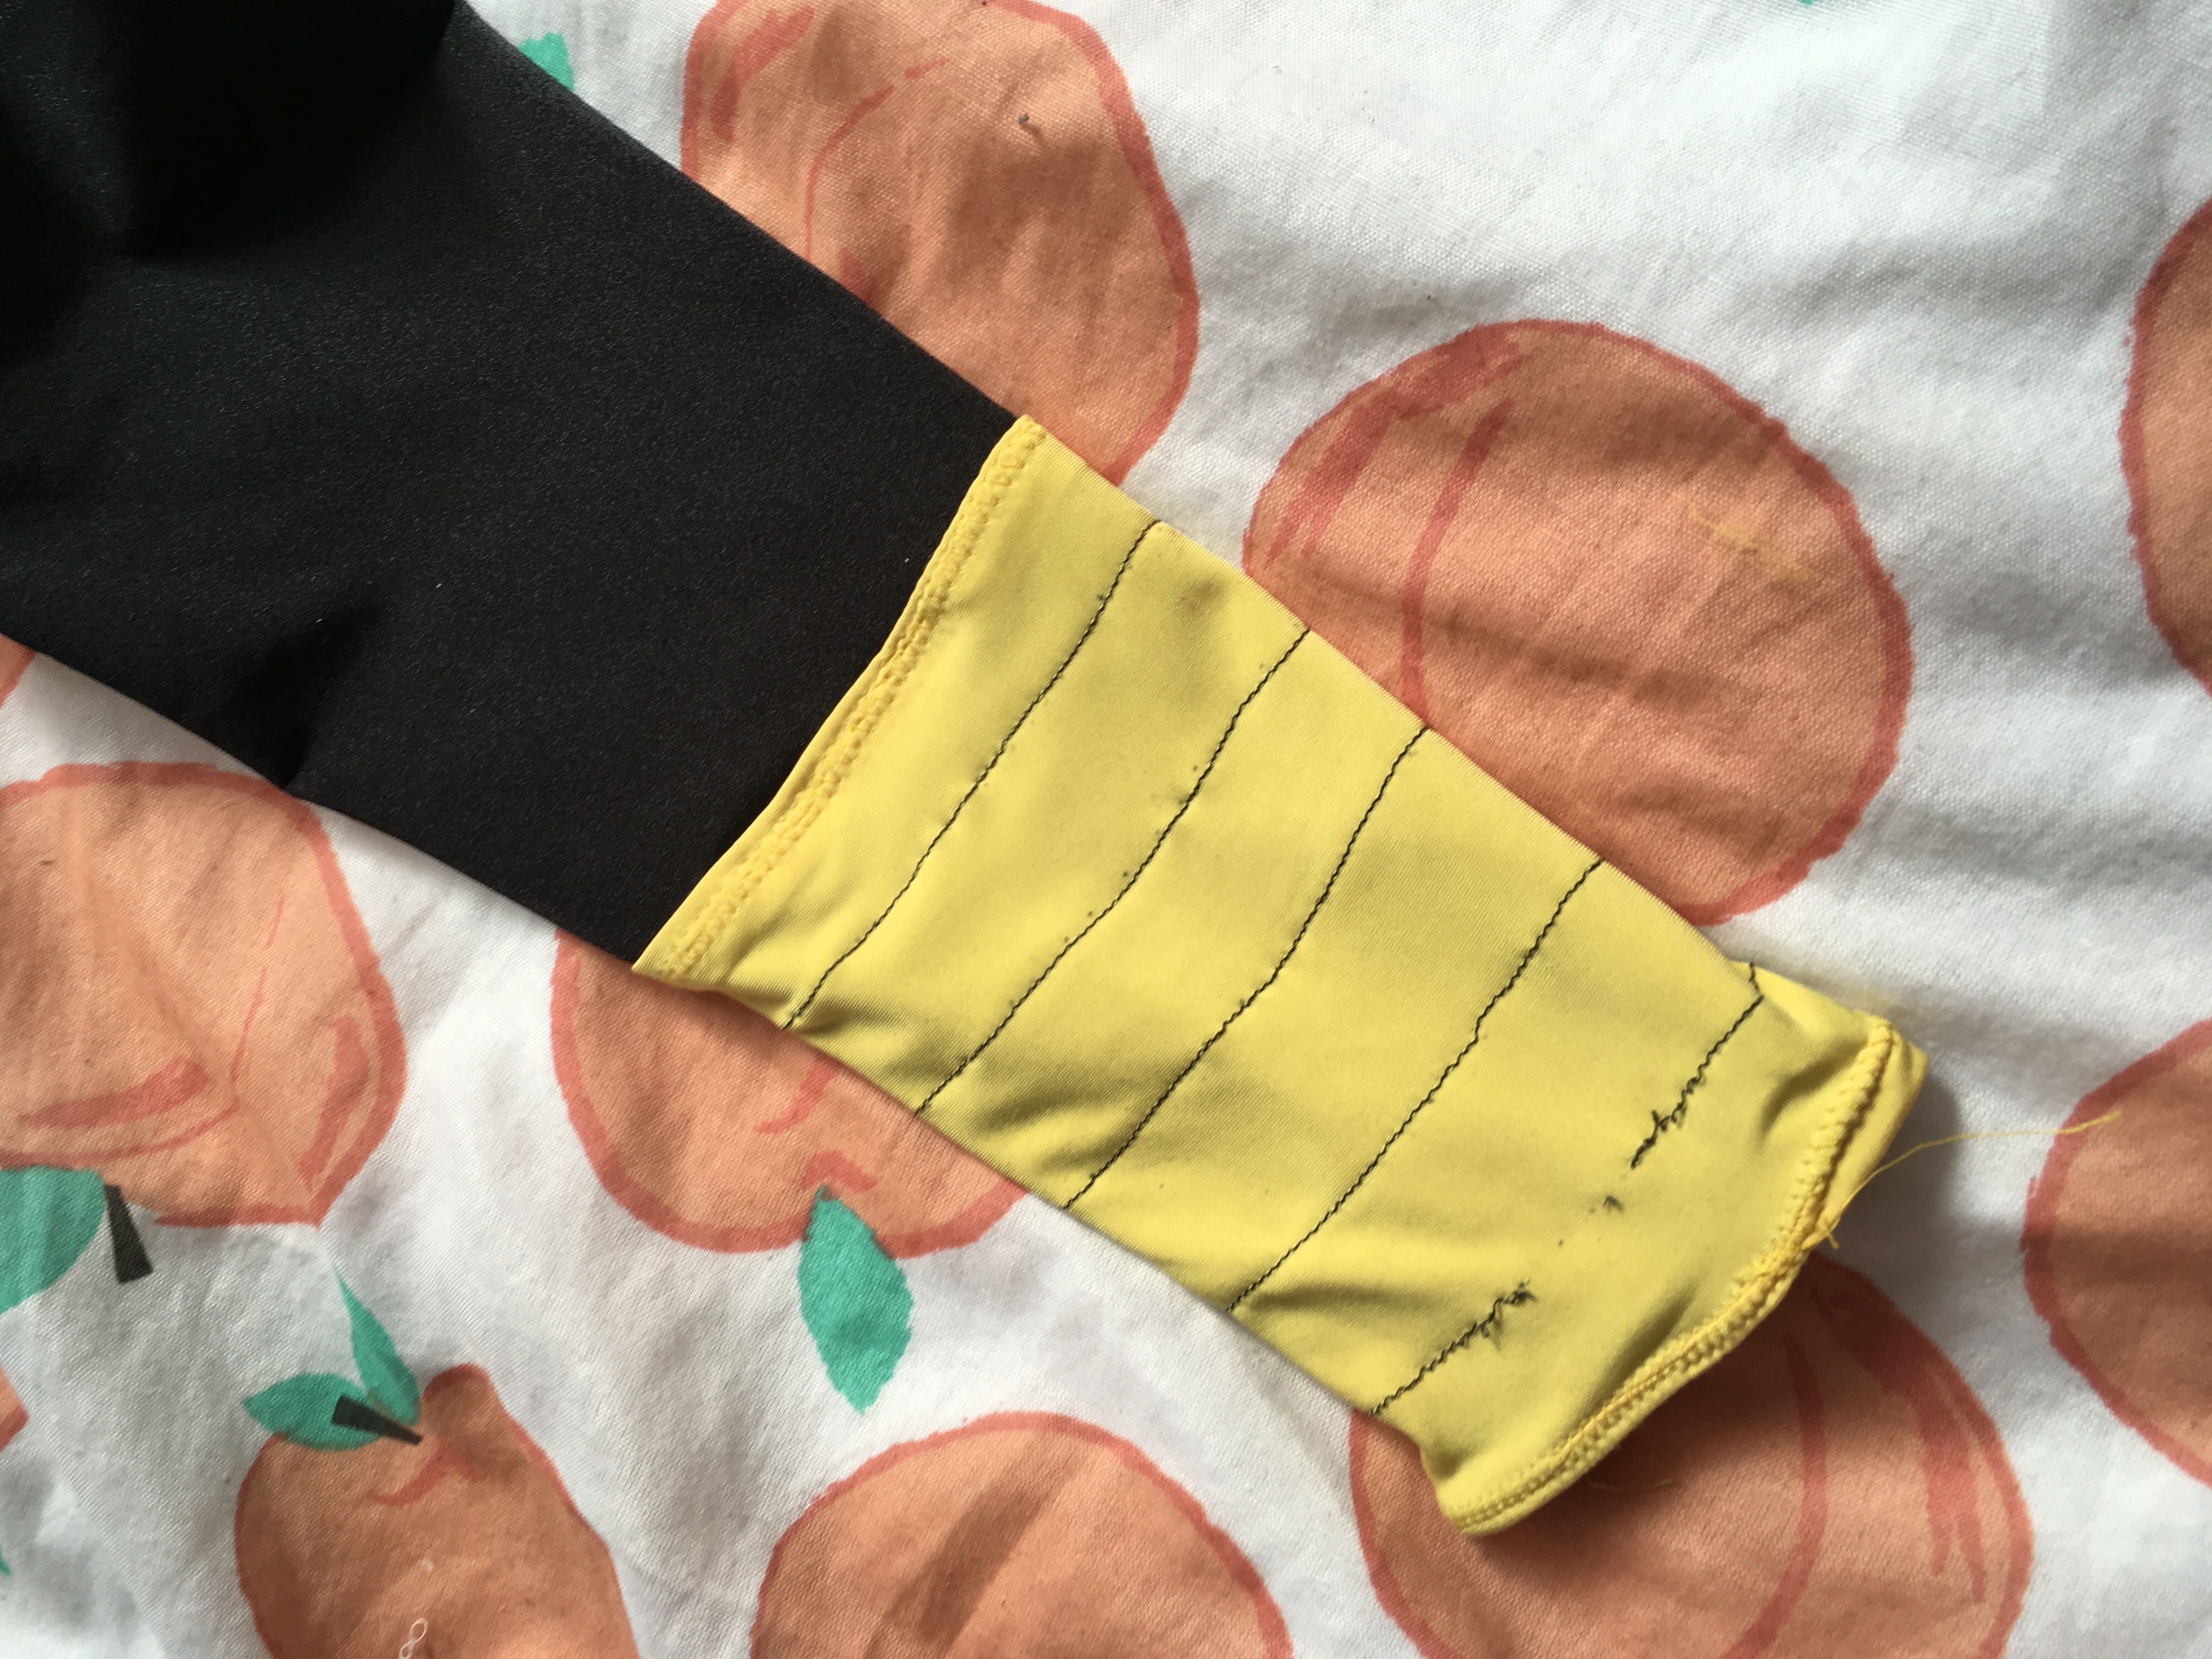
On the base suit I added details to make the suit more accurate. These additions were yellow points added to the sleeves and under the bust. These were stitched on using the same Zig Zag stitch and meant the sleeves could stretch but also had movement.
The suit also had what I described as gauntlets on the cuff of the sleeves. For the detail of them, I used a straight stitch which did restrict the stretch of the sleeve. These stitches did snap so next time I would try a different method.
Maintenance:
Until or if you don’t want an overlocker, Zig Zag stitches will still be perfectly fine. If you plan on wearing the garment several times, I would suggest maintaining it. Just checking that it hasn’t torn anywhere and that you’re still happy with the quality.
General Sewing Tips:
Stepping away from cosplay specific tips I thought I would add in some things that I have learnt over time. These can be applied in cosplay or sewing clothing you would wear every day which is something I do a lot of too.
Pins:
When putting in pins, place them so that you can sew over them, Horizontal to the direction you are sewing. This just keeps everything in the right place until it’s stitched into place. If the pins go in the other way, as you remove them it can move the fabrics. This can ruin pleats or details. I specifically use Pearl head pins as I like the grip and the coloured head makes it easier to keep an eye on them. The colourful ends help you see where they are in fabric, floor and desks.
Starting to Sew:
Always start with the needle at the highest point by turning your machines handwheel. Once the fabric is in place you can lower the foot lifter to grip the material. This makes sure your fabric feeds through nice and evenly. Put your hand in a right angle position to keep your fingers away from the needles but also should be comfortable to gently push the fabric through the machine. Use the guides on the plate to keep your lines neat and straight.
Seams:
Once you’ve Straight stitched your seams, open up the garment and ironing them flat. It makes them sit better in the garment and the difference is noticeable.
Hems:
To finish a garment with a hem you have a few options. The differences depend on how visible you want the hem to be. A popular option is a double folded hem where you simply turn over the fabric twice, usually amounting to 2cm and stitch it into place on a machine. You can also fold over the fabric just once and have more of a rough finish edge inside. These options are visible because you will see the stitches on the outside of the garment. For invisible I would suggest the folding method without using a sewing machine. You hand stitch the hem making big stitches inside the garment and only making very small holes on the outside so you can’t see any thread. I find this method takes a lot of practice. If you don’t want to sew a hem you can always use iron-on hemming web.
Once again I hope this has been useful to our lovely readers and if there are more steps you want advice on or want to discuss projects, talk to the Food and Cosplay team!


